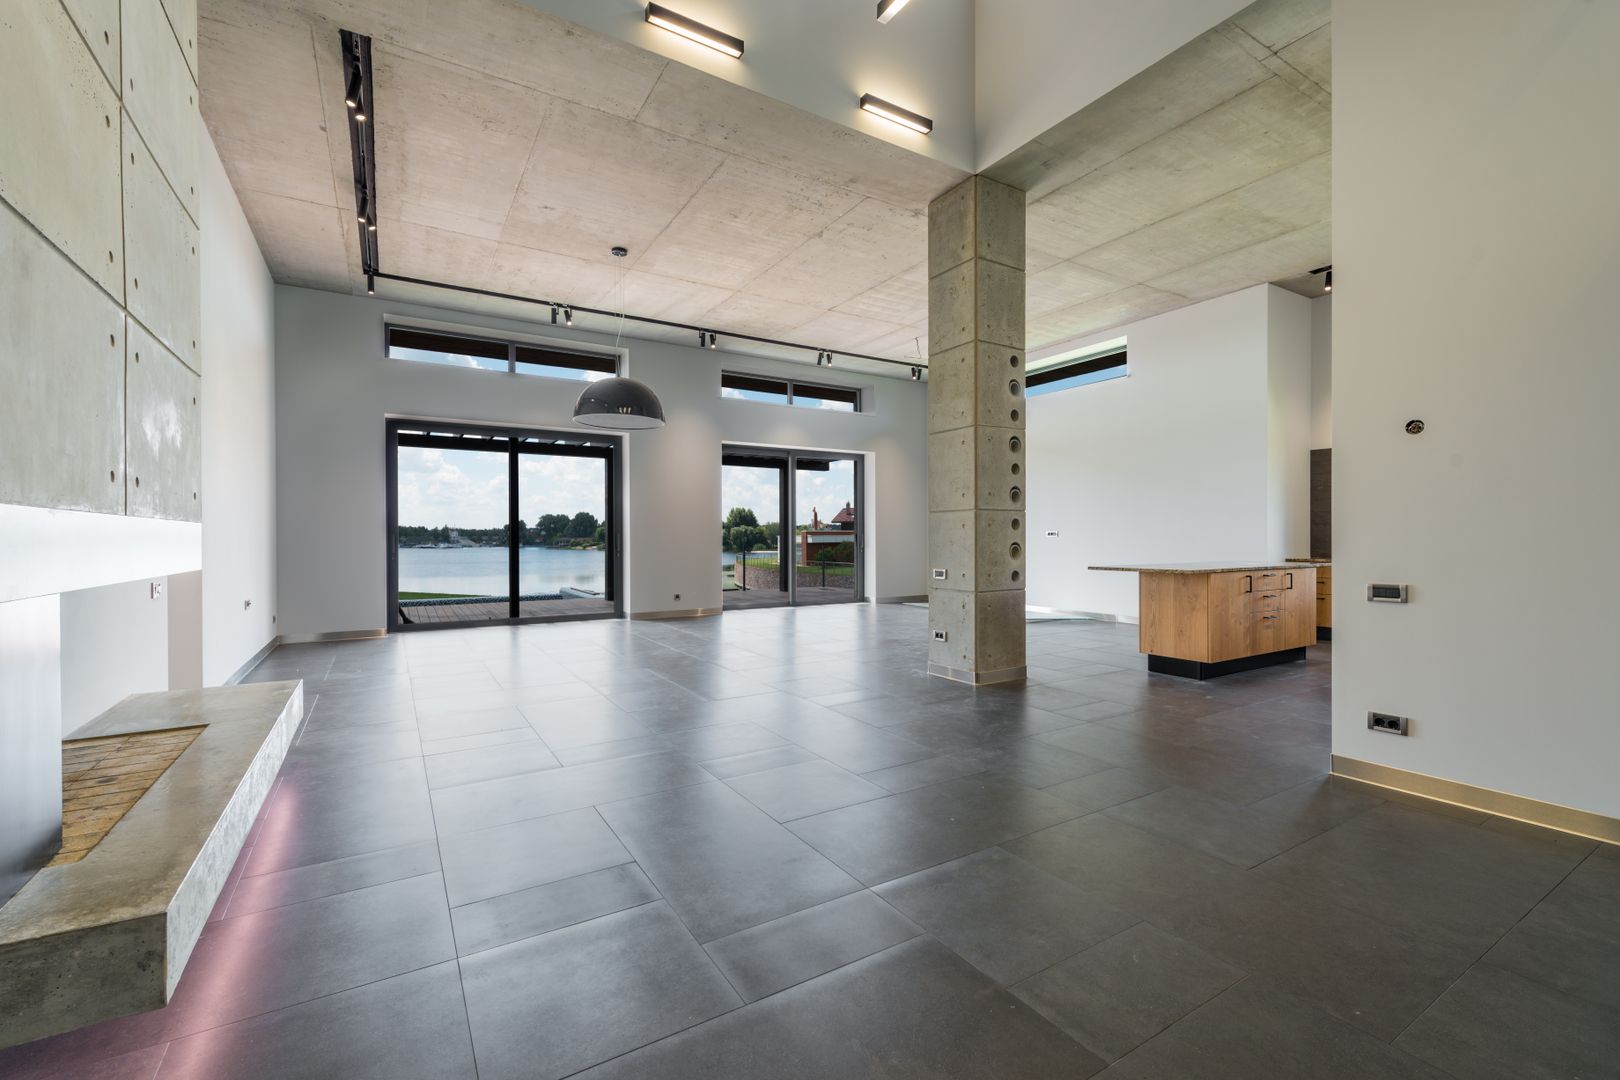
Plan where the tile will land so you don't paint yourself into a corner. Start by measuring the room in both directions and snapping two perpendicular reference lines. Dry-lay a row of tiles with spacers along each line to see where the cuts will fall at the walls and at any doorway transition.
You're aiming to avoid ugly slivers—those skinny half-inch rips that scream you started in a corner and hoped. If your dry layout shows slivers, shift your starting lines so both sides end with larger, balanced cuts. This is also where you pick your grout joint width.
Tile isn't perfectly identical, so the more variation you see in size or edges, the more you want a slightly wider joint to hide it. When you're happy with the plan, set yourself up for consistent work. Mix only as much mortar as you can spread and cover before it skins over; different products and conditions change that timing, so follow the bag and your eyes.
A common, versatile trowel size for many floor tiles is a 1/4 in. x 3/8 in. x 1/4 in. square-notch, which gives you enough mortar to achieve coverage without making a mess when you press the tile in. The technique matters more than the notch: burn in a thin coat with the flat side of the trowel to key mortar into the surface, then comb straight ridges with the notched side.
Set the tile and slide it slightly across the ridges to collapse them. Periodically pull a tile back up to verify coverage; you want the underside well-supported, not just dotted with stripes.