Weekend Repairs
Fix squeaks, gaps, and loose hardware with clear steps that prevent repeat failures next month.
BuildSmart DIY is for homeowners who want clean results without the confusion. Every guide covers what to buy, what to measure, what to watch out for, and what good enough actually looks like when you are standing in the aisle deciding between two boxes of fasteners.
Follow these four steps so you do not get surprised mid-job. Each stage keeps you in control and prevents locked-in mistakes.
Decide what done means, then capture the room size, material type, and the one detail you refuse to compromise on.
Use a short checklist for the exact tool type, bit or blade, fastener, and safety gear before you start.
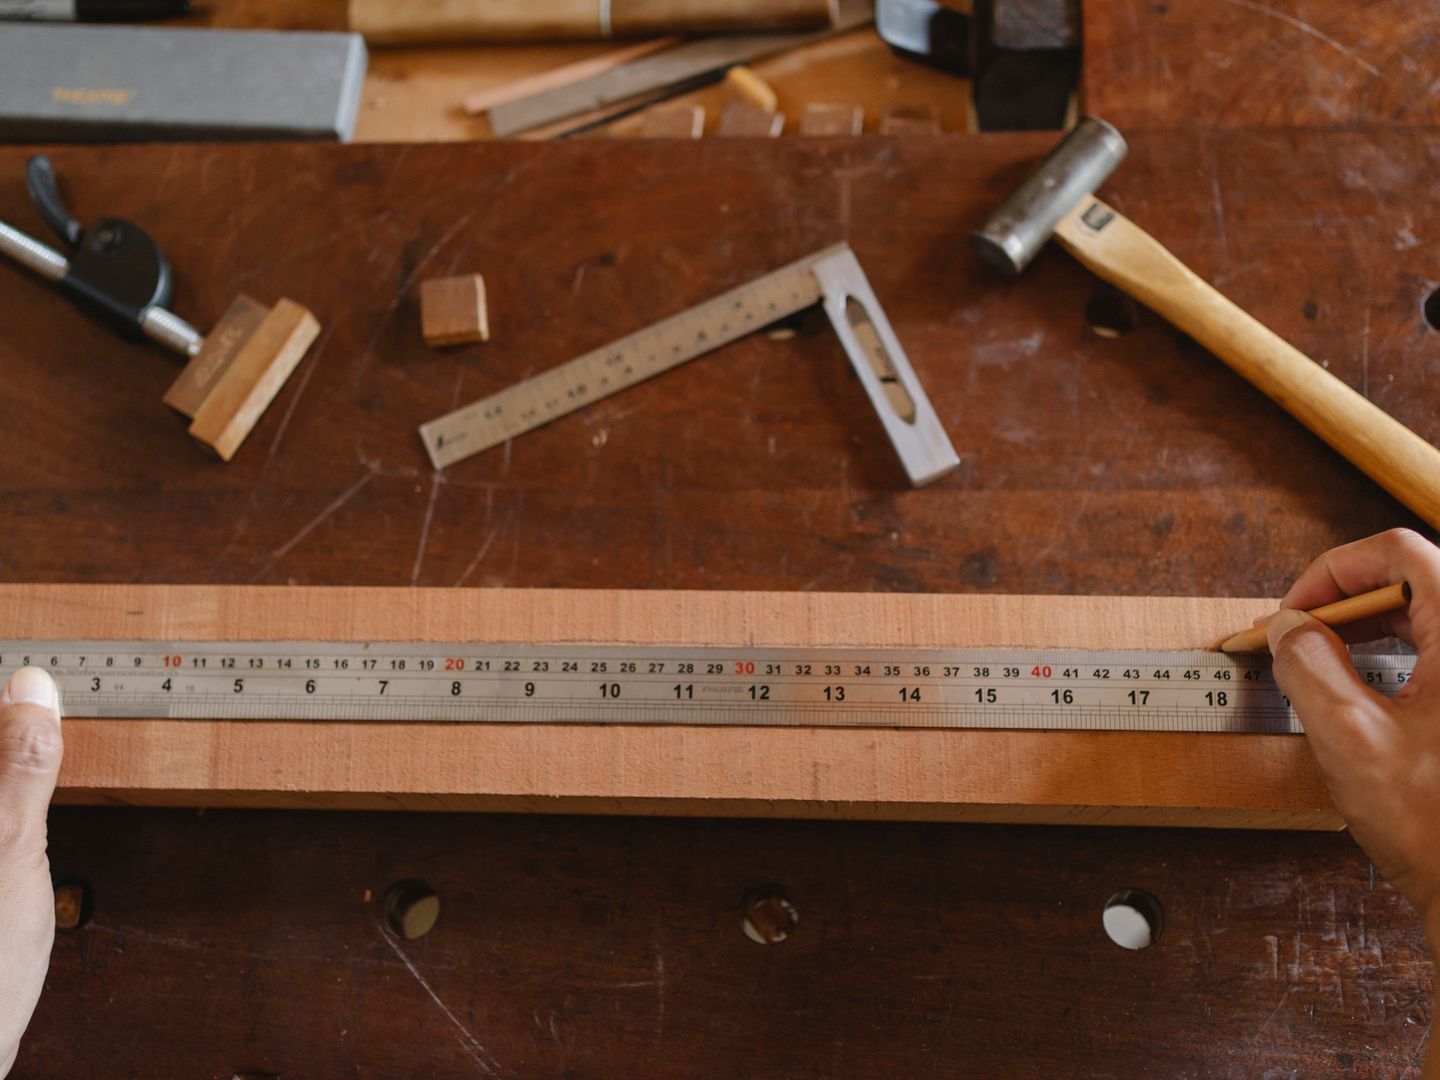
Mark reference lines, test-fit parts, and adjust now—before glue, screws, or paint lock mistakes in.
Work in small stages, re-check level and square often, then finish with a quick tidy so the space is usable immediately.
The newest guides are built for real weekends—clear steps, realistic costs, and safety-first reminders.
House roofing repair is one of those jobs that feels intimidating until you break it down into small, controlled moves.
Laminate hardwood flooring is one of the fastest ways to make a tired room feel solid, clean, and “finished” without turning your weekend into…
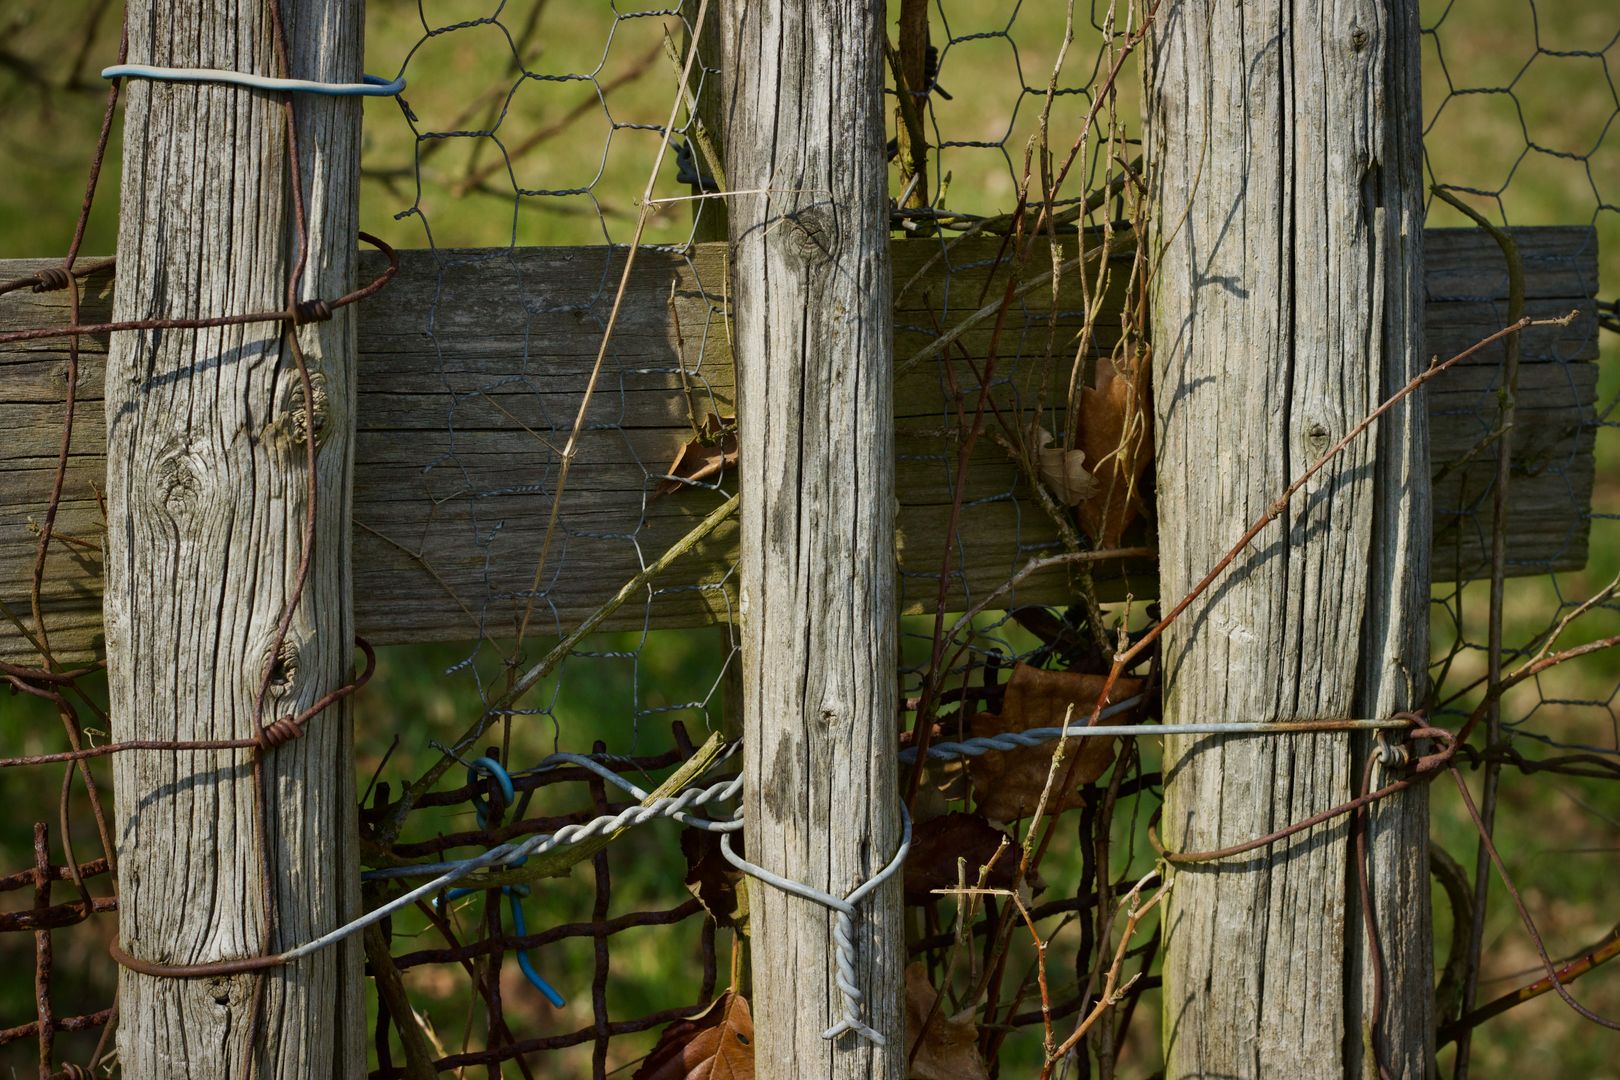
Good fence construction is one of those weekend projects that looks simple until you’re three holes deep, the string line is sagging, and nothing…
If you want a floor that can take spills, muddy boots, and everyday life without acting precious, flooring vinyl is hard to beat.
A well-laid floor tile floor is one of those upgrades you feel every day: it’s tough, it cleans up fast, and it can make…
Each guide uses plain-language steps, tool callouts, and cost notes you can copy into a quick shopping run. No jargon, no guesswork—just the details you need to measure, cut, fasten, and finish with confidence.
Tap More to expand an answer and Less to collapse it.
Start with the smallest project that removes daily friction—like a sticky door or loose handrail—so you build confidence and learn your tools safely.
Begin with a drill driver, a level, a tape, and a good set of bits; add specialty tools only when a project truly demands them.
Price materials first, then add fasteners, blades, sandpaper, and finish supplies; your little stuff line item prevents last-minute overspending.
Control the basics—eye and hearing protection, dust management, stable footing, and power-off checks—then slow down any time you feel rushed.
Stop and reset: re-check your reference line, confirm level and square, and adjust the first piece—because every part after it follows that mistake.