Skip to content

DIY Drywall Repair Guide

mm Dave Kowalski
12 min read

Key Repair Principles

  • Drywall is a paper skin over brittle gypsum—your finish depends on feathering and sealing, not brute force.
  • Pre-1978 homes may contain lead paint; pre-1980 homes may have asbestos in joint compound—test and use dust control.
  • Standard interior walls use 1/2-inch drywall; 5/8-inch is common on ceilings for extra sag resistance.
  • Repair success follows a predictable sequence: prep, square up damage, add backing, patch, tape, build coats, sand, seal, and paint.
  • Think in three repair categories: surface-only, shallow damage, and through-holes—each needs different backing and technique.
  • Primer is the quiet step that separates patched from invisible—it prevents flashing under different light sources.

Essential Tools and Materials

The cleanest repairs happen when you treat the job like a small finishing project, not a quick smear-and-pray. Here's a no-nonsense kit that covers most wall fixes: a sharp utility knife with snap blades, a 6-inch and 10–12-inch drywall knife (a 12-inch taping knife is a sweet spot for feathering), a sanding sponge (medium grit is a good all-around choice), and a roll of paper tape for flat seams and inside corners.

You'll also want a roll of self-adhesive fiberglass mesh tape for small patches and crack-prone spots, a quart of primer, and a tub of premixed joint compound. Keep a damp rag and a shop vacuum handy—most bad mud jobs are just messy edges that dried before they got cleaned up.

Drywall dimensions matter more than people realize, because your patch thickness and stiffness have to match what's already there. For most interior walls, 1/2-inch drywall is standard, while 5/8-inch is commonly used on ceilings or where extra sag resistance is needed. A typical panel is 4 ft. by 8 ft., and a 1/2-inch 4×8 sheet often weighs around 43 lb, which is why it's awkward to handle solo in tight hallways.

When you're doing a repair, the goal is a patch that sits flush—no proud edges, no recessed edges—so your finishing coats can stay thin. If you want a simple way to decide what repair method to use, think in three categories: surface-only (paper facing intact), shallow damage (paper torn or dented), and through-holes (missing drywall).

Surface-only damage is the easy lane: a light skim and you're done. Shallow damage needs you to cut away loose paper and seal it so the paper doesn't fuzz and bubble under mud. Through-holes—anything you can poke a finger through—need a patch that's supported so it can't flex when someone leans on the wall.

Six-Step Repair Workflow

The work itself goes smoother if you follow a predictable sequence instead of bouncing around. This is the same flow I use whether I'm fixing a quarter-sized ding or rebuilding a chunk of wall after a plumbing repair.

  1. Prep and protect: Shut off HVAC if you can, cover the floor, and mask baseboards. Pull outlet covers if you're near them (power off if you're working close to wiring). Good lighting is not optional—aim a bright work light across the wall so shadows reveal every ridge.
  2. Square up the damage: Cut away loose paper and crumble until you hit solid drywall. For holes, cut a clean square or rectangle; straight edges are easier to patch than ragged circles. If the drywall paper is torn, don't just mud over fuzz—slice it clean.
  3. Add backing (when needed): For anything bigger than a couple inches, screw a wood backer strip (or two) behind the opening so the patch has something rigid to bite into. Without backing, a patch flexes, and flexing equals cracks.
  4. Patch and fasten: Fit the patch tight, screw it in, and set screw heads just below the paper surface (dimpled, not torn). If you're fixing a popped fastener (a little crater with a bump), drive it back in place and add another screw a couple inches above or below into the same stud.
  5. Tape and build coats: Tape seams, then apply compound in thin coats, feathering wider each time. Think three light coats, not one thick coat. Let each coat dry fully.
  6. Sand, seal, and paint: Sand just enough to knock down ridges, then prime the repaired area before paint. Primer is what prevents flashing—those dull patches that show through topcoat at certain angles.

That sequence answers how to repair drywall in a way that works for real walls, because it's built around two truths: drywall compound shrinks as it dries, and drywall seams crack when they can move.

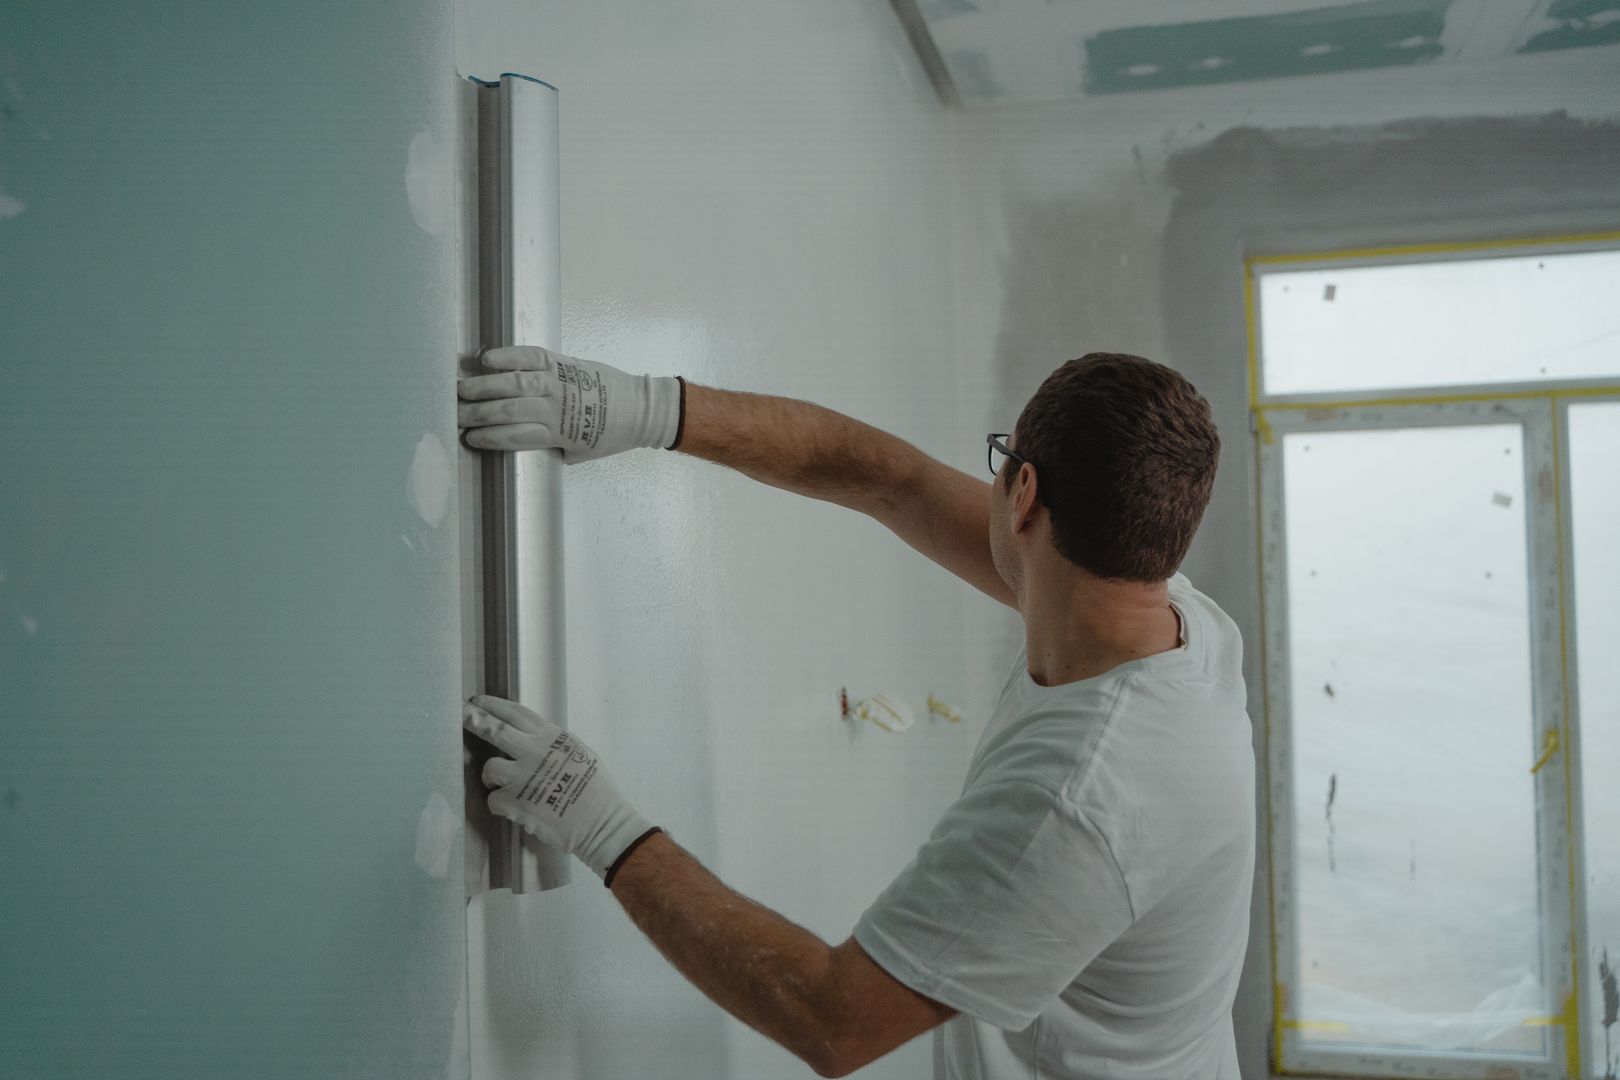
Drywall patch with wood backer strip
Clean cuts and rigid backing prevent flexing and future cracks in drywall patches

Choosing the Right Materials

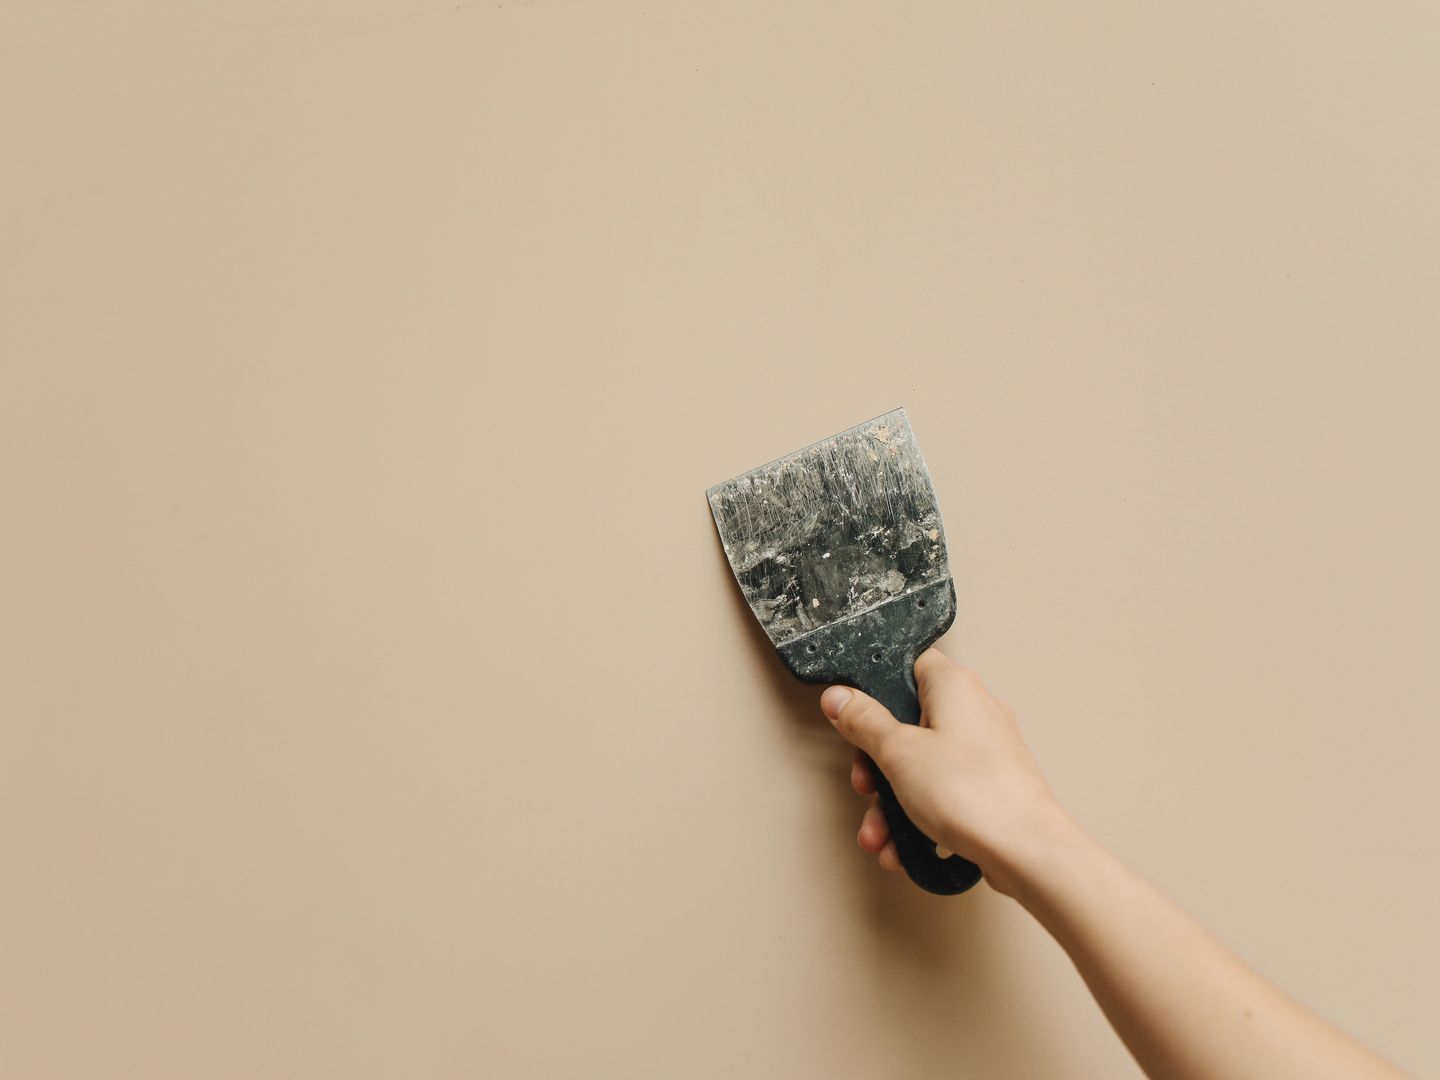
Match your materials to the job size and wall thickness for a seamless, long-lasting repair

Taping and Compound Options

For taping, you've got two common choices: paper tape and fiberglass mesh. Paper tape is strong and cheap, and it's my default for flat seams and corners when I'm embedding it in a thin coat of compound. A roll like USG Sheetrock paper joint tape (2-1/16 in. × 250 ft.) was listed at $6.59 online in July 2026.

Mesh tape is convenient for quick patches because it sticks to the wall and helps bridge small gaps; an example is FibaTape Perfect Finish self-adhesive mesh tape (1-7/8 in. × 180 ft.), listed at $6.93 online. Mesh can be a lifesaver on small patches, but it can also telegraph through paint if the finish coats aren't wide and smooth enough—so don't skimp on feathering.

The compound you choose determines how fast you can work and how much sanding you'll do. Premixed all-purpose joint compound is the all-around workhorse, especially for embedding tape and building coats. A 4.5-gallon tub of USG Sheetrock ultralightweight ready-mixed joint compound was listed at $24.09 online in July 2026.

For deeper fills, setting-type compound (the powder you mix) hardens chemically and can speed up the job, but it also tightens up quickly—great if you've got a steady hand, frustrating if you're still learning. Either way, thin coats are the whole game. If you can see distinct edges where the knife stopped, you're leaving yourself more sanding than you need.

Small dents, nail holes, and tiny dings are where a lot of people overcomplicate things. If the paper isn't torn, you can often use a fast-drying spackling compound that's meant for small repairs. One example that's easy to find is 3M Patch Plus Primer (8 fl. oz.), which was listed at $7.82 online as of July 2026. The built-in priming helps on quick touch-ups, but don't treat it like a magic wand—if the wall has a glossy sheen or strong side lighting, you still want a proper primer-and-paint blend to make the repair truly disappear.


Sanding and Finishing Steps

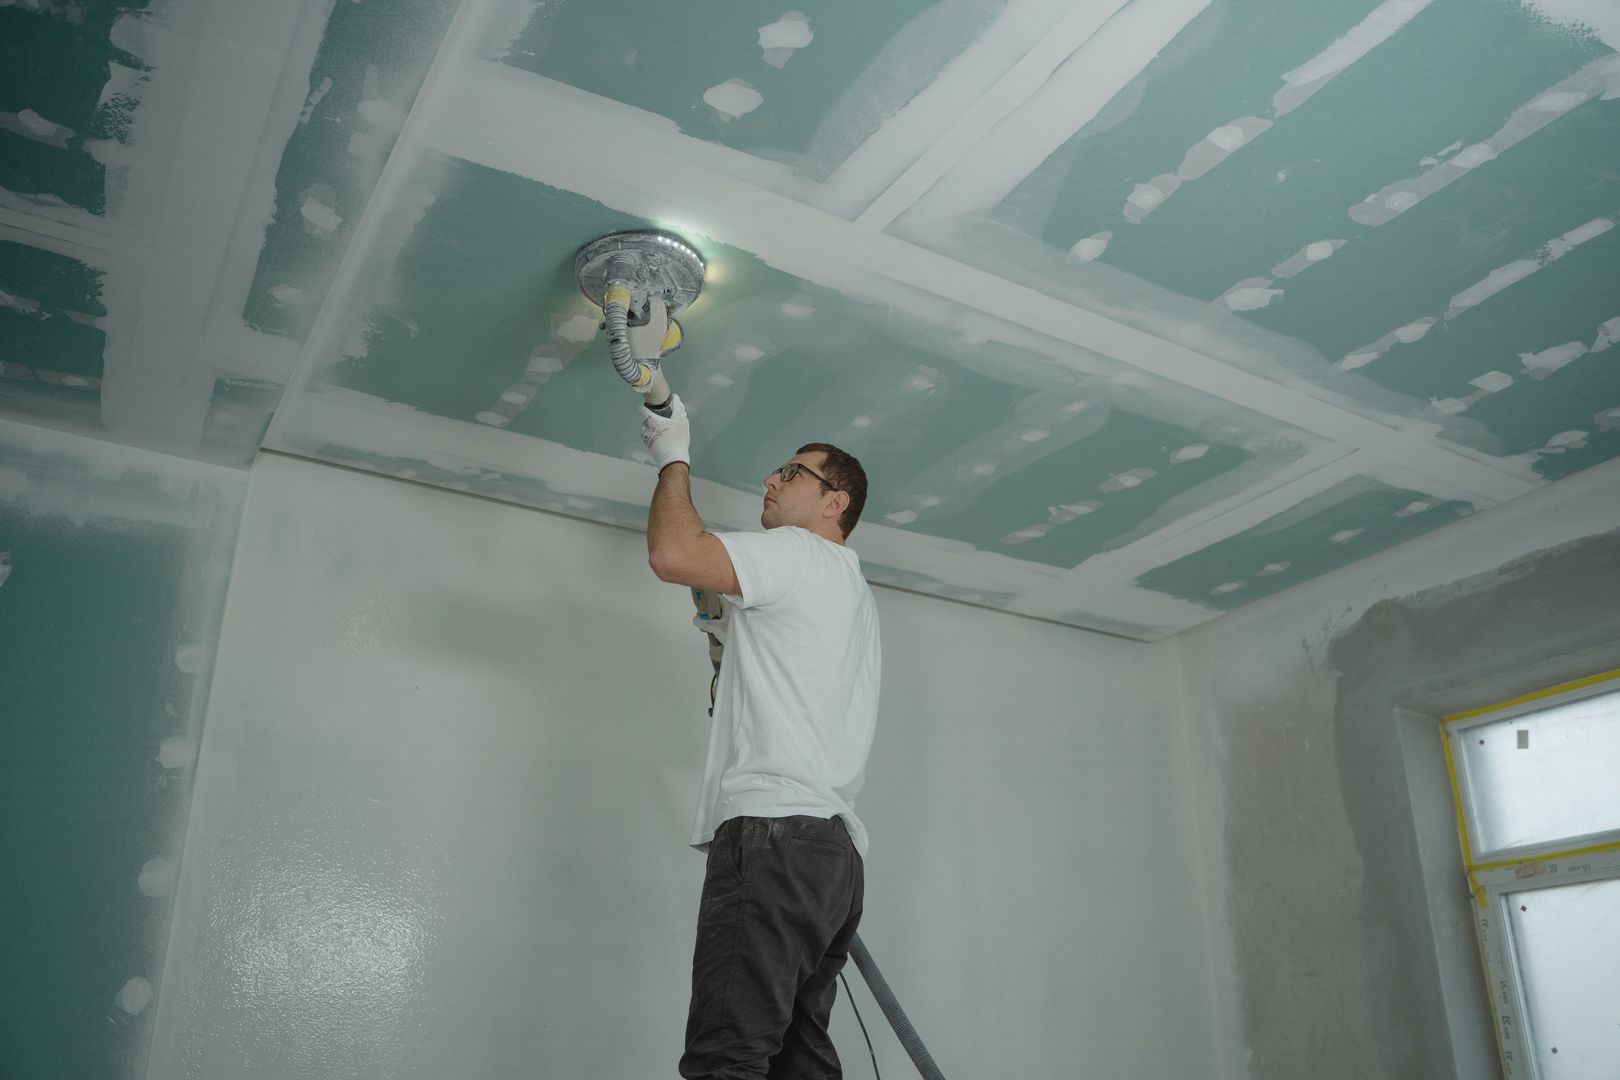
Sanding is where most DIY repairs get ugly: too much pressure, too small a sanding block, and dust everywhere. A sanding sponge gives you control because it flexes slightly and doesn't gouge like folded paper can.

  • A 3M general purpose sanding sponge in a fine/medium grade was listed at $2.98 online, and a 3M Pro Grade Precision medium block sanding sponge (2-pack) was listed at $9.49.
  • Use a light touch and let the abrasive do the work. Your goal is to flatten ridges, not dig craters. If you're generating clouds, you're doing more damage than good.
  • Primer is the quiet step that separates patched from can't find it. New compound is porous; it grabs paint differently than the surrounding wall, and that's what creates flashing.
  • A basic all-surface water-based primer in a quart size is plenty for several repairs. For example, White Zinsser Bulls Eye 1-2-3 water-based primer (1 qt) was listed at $9.55 online in July 2026.
  • Prime the repaired area plus a few inches beyond it, and let it dry before topcoat. If you're blending paint on an older wall, don't be shocked if you need to repaint the whole wall to make the sheen uniform—especially in bathrooms, hallways, and any room with strong side lighting.

Texture matching is the part nobody wants to talk about, but it matters—even on smooth walls there's usually a faint roller texture.

Medium Hole Repair Strategy

Image

For medium holes—say, anything from a door handle punch to a mis-drilled anchor that got fixed five times—backing is your friend. Cut a clean square, slide in a backer, screw it, then put in a drywall patch cut from 1/2-inch board. A full 1/2 in. × 4 ft. × 8 ft. sheet can run around the mid-teens per sheet online (one tracked Home Depot price was $16.25 on 07/13/2026), but for small repairs you can also use smaller repair panels. The key is to match thickness: a 1/2-inch wall patch on a 5/8-inch wall leaves you chasing a dip forever.

Material Costs Reference

Paper joint tape USG Sheetrock 2-1/16 in. × 250 ft. (July 2026) $6.59
Mesh tape FibaTape 1-7/8 in. × 180 ft. (July 2026) $6.93
Spackling compound 3M Patch Plus Primer 8 fl. oz. (July 2026) $7.82
Sanding sponge 3M general purpose fine/medium (July 2026) $2.98
Primer (1 qt) Zinsser Bulls Eye 1-2-3 (July 2026) $9.55
1/2-inch drywall sheet 4 ft. × 8 ft. sheet Home Depot (July 2026) $16.25
Joint compound (4.5 gal) USG Sheetrock ultralightweight (July 2026) $24.09

Prices from online retailers as of July 2026; availability and pricing vary by location

Common Mistakes to Avoid

A few easy-to-avoid errors that separate clean repairs from projects that frustrate and multiply

What Not to Do

A few common mistakes are worth calling out because they're easy to avoid. Don't mud over loose paper—cut it back and seal it. Don't skip backing on a floppy patch—movement causes cracks. Don't load one heavy coat thinking it saves time—thick mud shrinks and cracks and turns sanding into misery.

Don't sand with your bare hand—your fingers make grooves. And don't paint raw compound—prime first unless you enjoy chasing flashing under every light source. If you're still stuck on the question how do you repair drywall when the hole is bigger—think a damaged section between studs—the approach is the same, just scaled up.

Cut the opening to land on framing, add a second stud or a backer if the cut edge doesn't have support, and keep your joints tight. Use paper tape on the seams, widen your feathering coats farther than you think you need, and give yourself permission to do a final skim that's wider than the patch. That last skim is what makes the repair disappear.

Pros and cons time, straight talk. The upside of learning drywall repair is huge: it's one of the highest dollars saved per hour skills in home maintenance, the tools are reusable, and once you get the feel for feathering, you'll stop staring at every little ding in the house.

The downsides are real, too: it's dusty, it's a multi-day process because of drying time, it takes practice to avoid knife lines, and texture/paint matching can be more finicky than the patch itself. If you go in expecting instant perfection on the first pass, you'll get frustrated; if you expect a couple rounds of fine-tuning, you'll finish calm.

Bathroom Remodel Connection

Since bathrooms come up constantly, here's the tie-in most people need to understand: drywall work affects moisture control and budgeting. If you're trying to estimate bathroom remodel cost or you've been searching remodeling a bathroom cost estimates, wall repairs aren't always the big-ticket line item—but they can be the surprise that derails the timeline.

  • As of 2026 reporting, a bathroom remodel can cost between $6,456 and $24,715 or more, with an average cost of $15,586.
  • A 2026 homeowner survey cited that around 1 in 3 people said their project cost more than expected (often tied to things like plumbing upgrades, water damage, or structural fixes).
  • Nearly 95% still reported being satisfied with their completed bathroom projects despite cost overruns.
  • Those numbers are a good reminder: controlling small wall problems early—before moisture turns a soft spot into a bigger tear-out—can keep a project from ballooning.
  • Wall repairs around showers, vanities, and exhaust fan cutouts are especially common pain points in bathroom remodels.

Fixing drywall correctly the first time prevents moisture damage that can multiply project costs down the line.

Smooth drywall repair finish
Feathered compound edges and proper primer create invisible repairs that blend seamlessly with existing walls

Final Takeaways

  • Treat drywall repair like a small finishing project—clean cuts, solid backing, thin coats, and good primer produce invisible results.
  • Don't mud over loose paper, skip backing on floppy patches, load heavy coats, sand with bare hands, or paint raw compound.
  • Texture matching matters: even smooth walls have faint roller texture that a perfectly flat patch will betray under side lighting.
  • Drywall compound shrinks as it dries and seams crack when they can move—backing prevents flexing and cracking.
  • Learning drywall repair is one of the highest dollars-saved-per-hour skills in home maintenance with reusable tools.
  • Take progress photos with raking light to catch ridges your eyes miss—fix them early to minimize final sanding.

Explore step-by-step tutorials, tool recommendations, and cost breakdowns for your next home improvement project