Skip to content

Repairing Home Siding

mm Sarah Chen
9 min read

Quick Takeaways

  • Siding is a rain screen, not the only defense. Always check and repair the water-resistive barrier and flashing behind it.
  • Identify failure mode by material: vinyl fails from wind and improper nailing, fiber cement at unsealed joints, wood where it stays wet.
  • Plan around access and safety: stable ladder, work gloves, respirator, and dust control, especially on pre-1978 homes with lead paint.
  • Small-area repairs typically take three to six hours and cost eighty to three hundred fifty dollars depending on material and depth of substrate work.
  • Work in layers: stop the water source, fix substrate, restore wrap and flashing, then reinstall cladding to look good and shed water properly.
  • Never caulk as structure. Caulk seals small transitions; proper laps and flashing do the heavy lifting to keep water moving outward.

Tools and Materials

Time 3–6 hours Difficulty Moderate Budget $80–$350

Tools

  • Extension ladder with standoff
  • Flat bar or siding removal tool
  • Hammer and nail set
  • Drill/driver
  • Utility knife
  • Tape measure and level
  • Caulk gun
  • Zip tool (for vinyl)

Materials

  • Replacement panel or board
  • Corrosion-resistant fasteners
  • Flashing tape
  • Housewrap patch piece
  • Exterior-rated sealant
  • Epoxy or wood filler
  • Primer and paint
  • Dust-rated respirator

Thinking Like Water

Siding functions as the outer rain screen, but it's never your only line of defense. Behind it lies a water-resistive barrier—housewrap or building paper—plus flashing that kicks water out over the face of the cladding. When siding fails, what you see is the symptom: warped boards, popped nails, staining, bubbling paint. The real culprit is often missing or mis-lapped flashing at a window, a leaky gutter joint, a hose bib dripping behind trim, or soil and mulch piled too high against the wall.

Fixing the visible damage without correcting the water path is futile. Water will find its way back in, and you'll be back on the ladder in a year. Start by identifying what you're working with and what failure mode you have. Vinyl usually fails by wind damage, broken locking edges, or oil canning from improper nailing or insufficient expansion gaps.

Fiber cement and engineered wood tend to fail at butt joints and cut ends if they weren't sealed, primed, or flashed correctly during installation. Traditional wood fails where it stays wet: near roof-to-wall intersections, behind downspouts, around windows, especially if paint maintenance lagged. Aluminum can dent and loosen over time, and older brittle cement shingles crack if handled roughly.

The most useful first inspection is hands-on. Press suspicious areas to compare firm versus spongy feel. Look for black staining or crumbly fibers. Check for missing caulk at trim transitions and scan the ground line carefully. Any siding that sits too close to soil or constantly gets splashback is living on borrowed time and will rot or degrade faster than expected.

Plan the job around access and safety, not just the patch itself. A stable extension ladder with a standoff, work gloves, eye protection, and a dust-rated respirator are baseline essentials. You'll also want a flat bar or siding removal tool, a hammer and nail set, a drill or driver, a utility knife, tape measure, a level, and a reliable caulk gun.

If you're dealing with vinyl siding, a zip tool—sometimes called a siding unlocking tool—makes the work much cleaner and faster. For fiber cement, plan on the right cutting method, either shears or a fiber-cement rated blade, and take dust control seriously. Materials typically include a matching replacement panel or board, corrosion-resistant fasteners like hot-dipped galvanized or stainless depending on the siding manufacturer, flashing tape, a small piece of housewrap, exterior-rated sealant, and if wood is involved, epoxy or wood filler, primer, and paint.

A realistic small-area house siding repair—one to three damaged pieces plus some flashing and housewrap touch-up—usually takes three to six hours of hands-on time, spread across a day if you're painting, and it lands in the moderate difficulty range: not hard, but detail-sensitive. Budget varies by siding type and how deep you have to go into the substrate.

As of mid-2026, a common vinyl siding piece can be under ten dollars per panel in some product lines. Fiber cement can be more per plank, with some profiles around fifteen dollars for certain lengths. A roll of housewrap is often over two hundred dollars, though most repairs use a small cut, not a whole roll. Exterior sealant typically runs ten to twenty dollars per tube. A typical DIY materials total for a small repair commonly lands around eighty to three hundred fifty dollars once you add flashing tape, fasteners, primer, paint, and a little waste for color matching and offcuts.


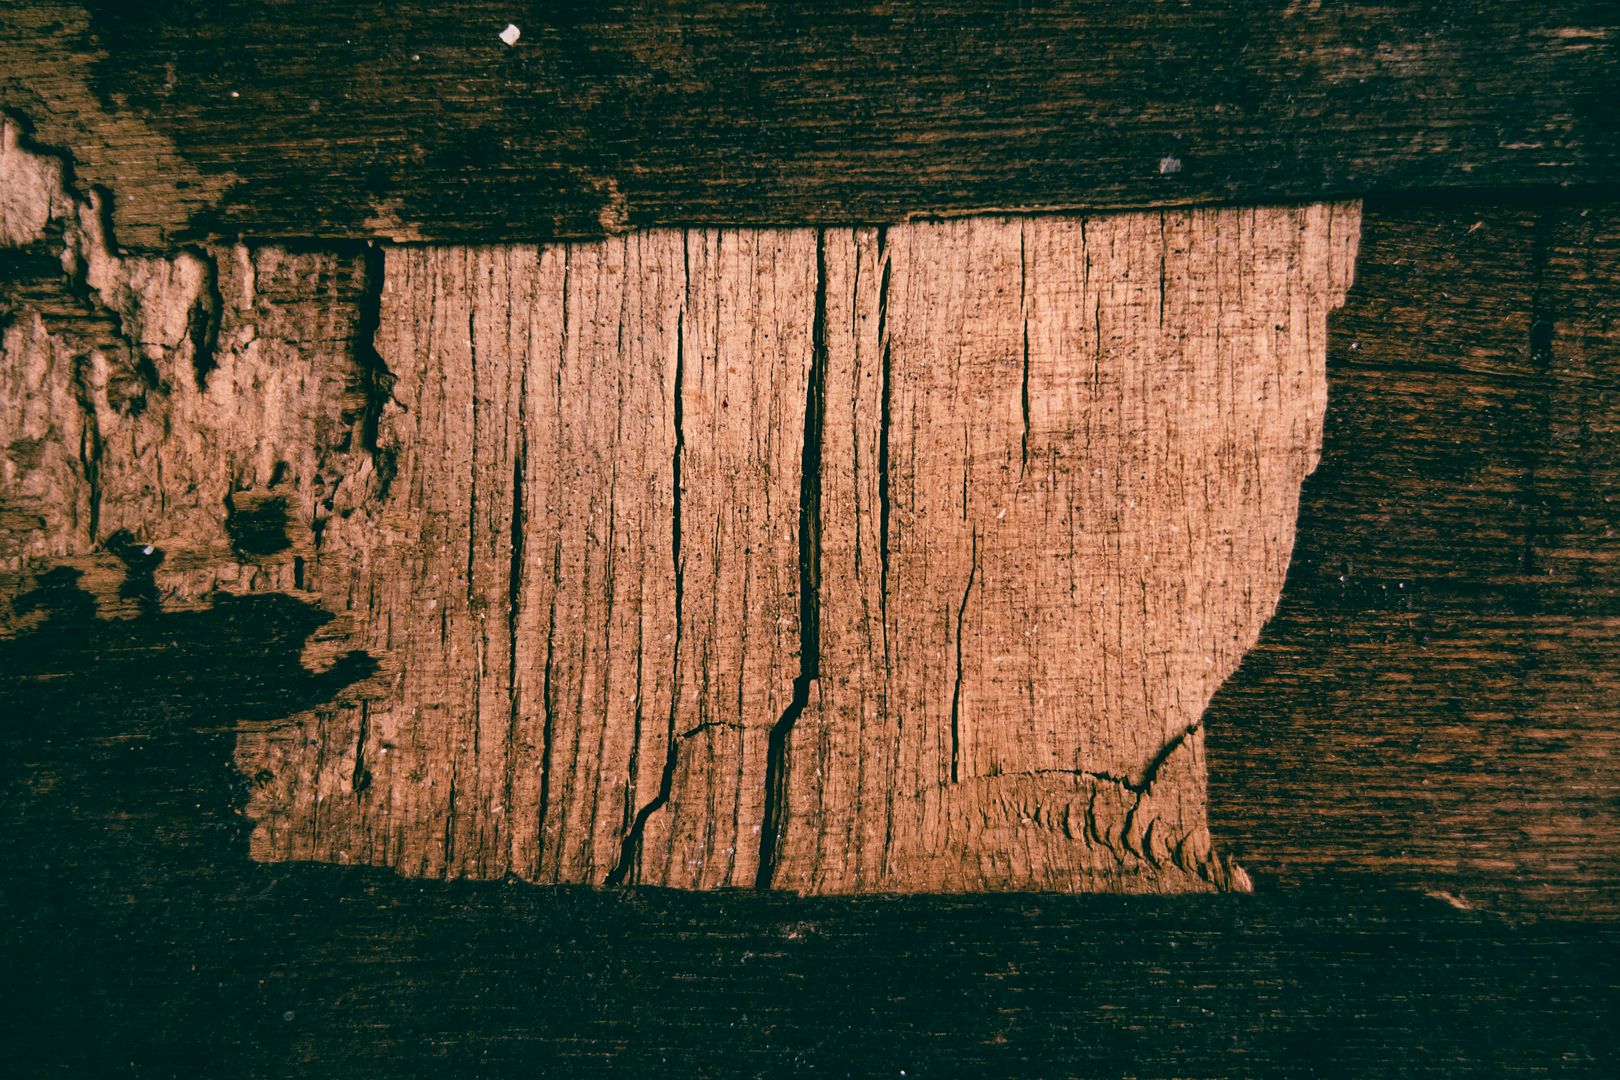
Hand inspecting damaged wood siding and sheathing
Inspect behind damaged siding to check sheathing condition and water-resistive barrier integrity before installing new cladding.

Working in Layers

The cleanest way to repair house siding is to work in layers, in order, and stop only when each layer is sound and dry.

Five-Stage Repair Workflow

Follow these stages in order to ensure your repair lasts and water stays outside where it belongs.

  1. Diagnosis and Layout

    Pick a dry day, take photos, and mark the full influence zone of the damage, not just the visible crack. If siding is stained below a window corner, expect the issue above it. If a board is rotten at the bottom, check for missing kick-out flashing or a downspout dumping water onto the wall.

    1 / 4
  2. Careful Removal

    Open the wall without creating new damage. With vinyl, unlock the panel above using a zip tool, remove nails from the nailing hem, and slide the damaged panel out sideways. With lap boards, work top to bottom: remove trim if it traps board ends, pull nails without splintering the course above.

    2 / 4
  3. Substrate Repair

    Once the damaged piece is off, inspect sheathing and framing. Probe with an awl: solid wood resists, rotten wood crushes. If sheathing is only slightly punky, dry it thoroughly and consolidate with exterior-rated epoxy. If soft through its thickness, replace the section and fasten to framing properly.

    3 / 4
  4. Restore Drainage Plane

    Patch housewrap with compatible tape, integrating it shingle-style so water sheds down and out. At windows and doors, flashing must always direct water over the layer below it, never behind. Use flashing tape where appropriate, but don't rely on tape alone at high-flow locations—metal drip caps matter.

    4 / 4

Installing Replacement Siding

Image

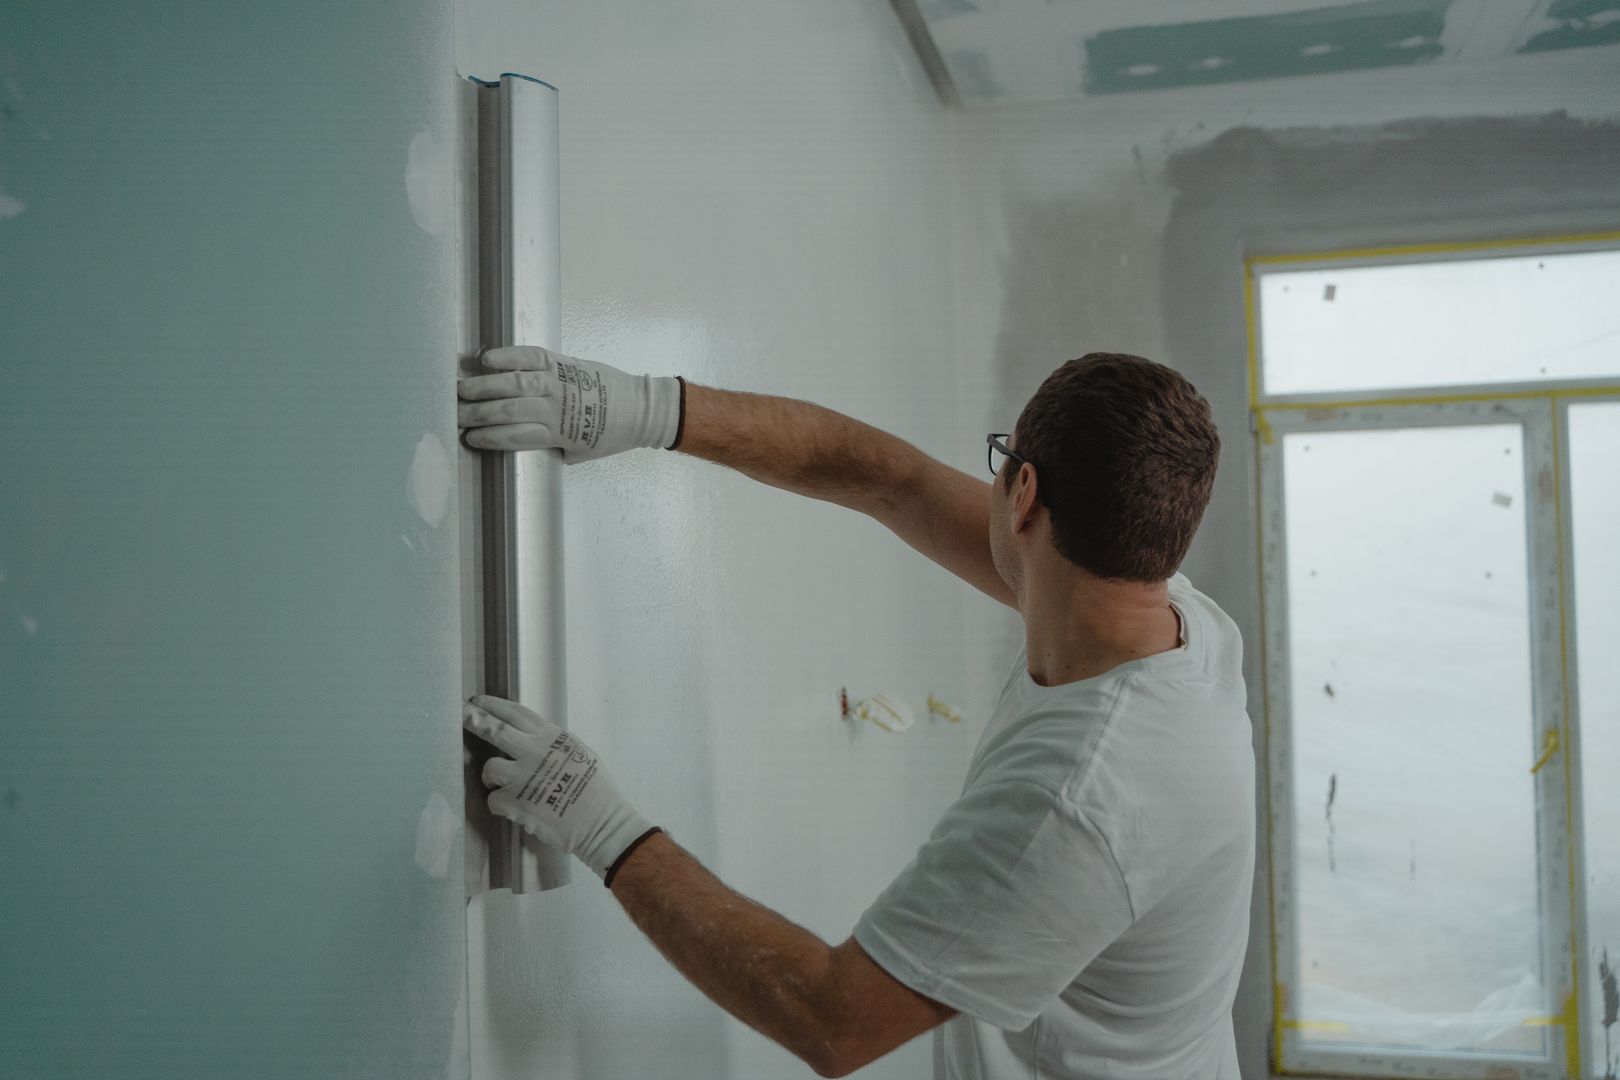
Match thickness and profile first; color comes second because fading happens over time. With vinyl, leave recommended expansion gaps at ends and around J-channel, and nail in the center of the slots without driving nails tight—the panel should slide a bit. With fiber cement, follow the manufacturer's fastening schedule and maintain proper clearances from roofs, decks, and grade; seal cut ends and butt joints as specified. With wood, prime all sides you can, especially end grain, before installation, and use a back-primer or stain-blocking primer if tannins are a concern. For touch-up paint, bring a small removable piece or clean offcut to color-match, and always use exterior-rated coatings that can handle UV, temperature swings, and moisture cycling.

Material-Specific Gotchas

Each siding type has its own quirks and failure patterns that can save you a redo if you know them upfront.

Vinyl, Fiber Cement, and Wood

Vinyl siding has three main rules: don't caulk the bottom edge of courses, don't face-nail unless it's a last resort in an allowed location, and don't replace one broken panel without checking the nail hem on the course above—wind often damages both. Vinyl is designed to hang and float, so overdriven fasteners or blocked expansion gaps cause oil canning and warping.

Fiber cement demands respect for silica dust, which is no joke for your lungs. Control dust with wet methods or a vacuum attachment. Predrill near ends when needed to avoid cracking the brittle material, and keep fasteners corrosion-resistant because cement is alkaline and will corrode standard steel. Seal all cut ends and butt joints per manufacturer instructions—this is where water sneaks in.

Wood siding fails where water management is wrong. If rot is present, assume the flashing or drainage detail nearby is broken or missing. Don't bury wood in caulk at horizontal seams; instead, use proper overlaps, back-priming, and flashing so each board sheds water over the one below. Prime all sides before installation, especially end grain, which soaks up moisture fastest.

Around penetrations like hose bibs, conduit, and vents, resist the temptation to smear sealant over everything. Install a proper flashing block or boot so the sealant acts as a serviceable gasket, not the only line of defense. This way you can inspect and refresh the seal without tearing into the wall assembly.

A quick mental checklist to keep you honest: stop the water, fix the structure, restore the wrap, restore the flashing, then make it look good. Most failures happen when people reverse that order and focus on appearance first. A patch that's slightly mismatched in sheen is annoying; a patch that funnels water behind the wall is expensive and will cost you far more in the long run.

Take the extra twenty minutes to lap the barrier correctly, flash the joint properly, and fasten the cladding the way it was designed to move. Once you've done one solid home siding repair the right way, the next ones get faster because you start recognizing patterns: the same window corner that always stains, the same downspout that splashes, the same deck ledger area that stays damp.

That's the real win of DIY maintenance—each repair makes the house simpler to understand. And if you finish the day with a tight wall, open drainage paths, and a repair that can expand, contract, and shed water like the rest of the siding, you didn't just patch a surface. You put the building back in rhythm and extended its life.

Quick Reference Checklist

  • Stop the water source first—trace leaks to flashing, gutters, or grade issues.
  • Inspect substrate with an awl or screwdriver; replace soft sheathing, don't just cover it.
  • Patch housewrap shingle-style so water sheds down and out, never behind.
  • Match siding thickness and profile first; color match is secondary due to fading.
  • Leave expansion gaps and nail in slot centers for vinyl; never overdrive fasteners.
  • Seal all fiber cement cut ends and butt joints per manufacturer specifications.
  • Prime all wood surfaces, especially end grain, before installation to block moisture.
  • Use flashing blocks at penetrations, not just caulk—make seals serviceable.

Explore step-by-step tutorials for other common home improvement projects with detailed materials lists and safety tips.


Fatal error: Uncaught ValueError: Unknown format specifier "," in /srv/sites/buildsmart-diy/wp-content/themes/trafium-ai/parts/author_box_extended.php:89 Stack trace: #0 /srv/sites/buildsmart-diy/wp-content/themes/trafium-ai/parts/author_box_extended.php(89): sprintf('flex: 0 0 auto;...', 96) #1 /srv/sites/buildsmart-diy/wp-content/themes/trafium-ai/functions.php(434): include('/srv/sites/buil...') #2 /srv/sites/buildsmart-diy/wp-content/themes/trafium-ai/templates/blog-post.php(50): trafium_ai_render_post_block('author_box_exte...', 51, 15) #3 /srv/sites/buildsmart-diy/wp-includes/template-loader.php(106): include('/srv/sites/buil...') #4 /srv/sites/buildsmart-diy/wp-blog-header.php(19): require_once('/srv/sites/buil...') #5 /srv/sites/buildsmart-diy/index.php(17): require('/srv/sites/buil...') #6 {main} thrown in /srv/sites/buildsmart-diy/wp-content/themes/trafium-ai/parts/author_box_extended.php on line 89